Setting up the board
Connecting the board is done in a few steps:
- Add a device to Stemi Lab
- Creating a configuration file
- Configurating the device
1. Adding a device to Stemi Lab
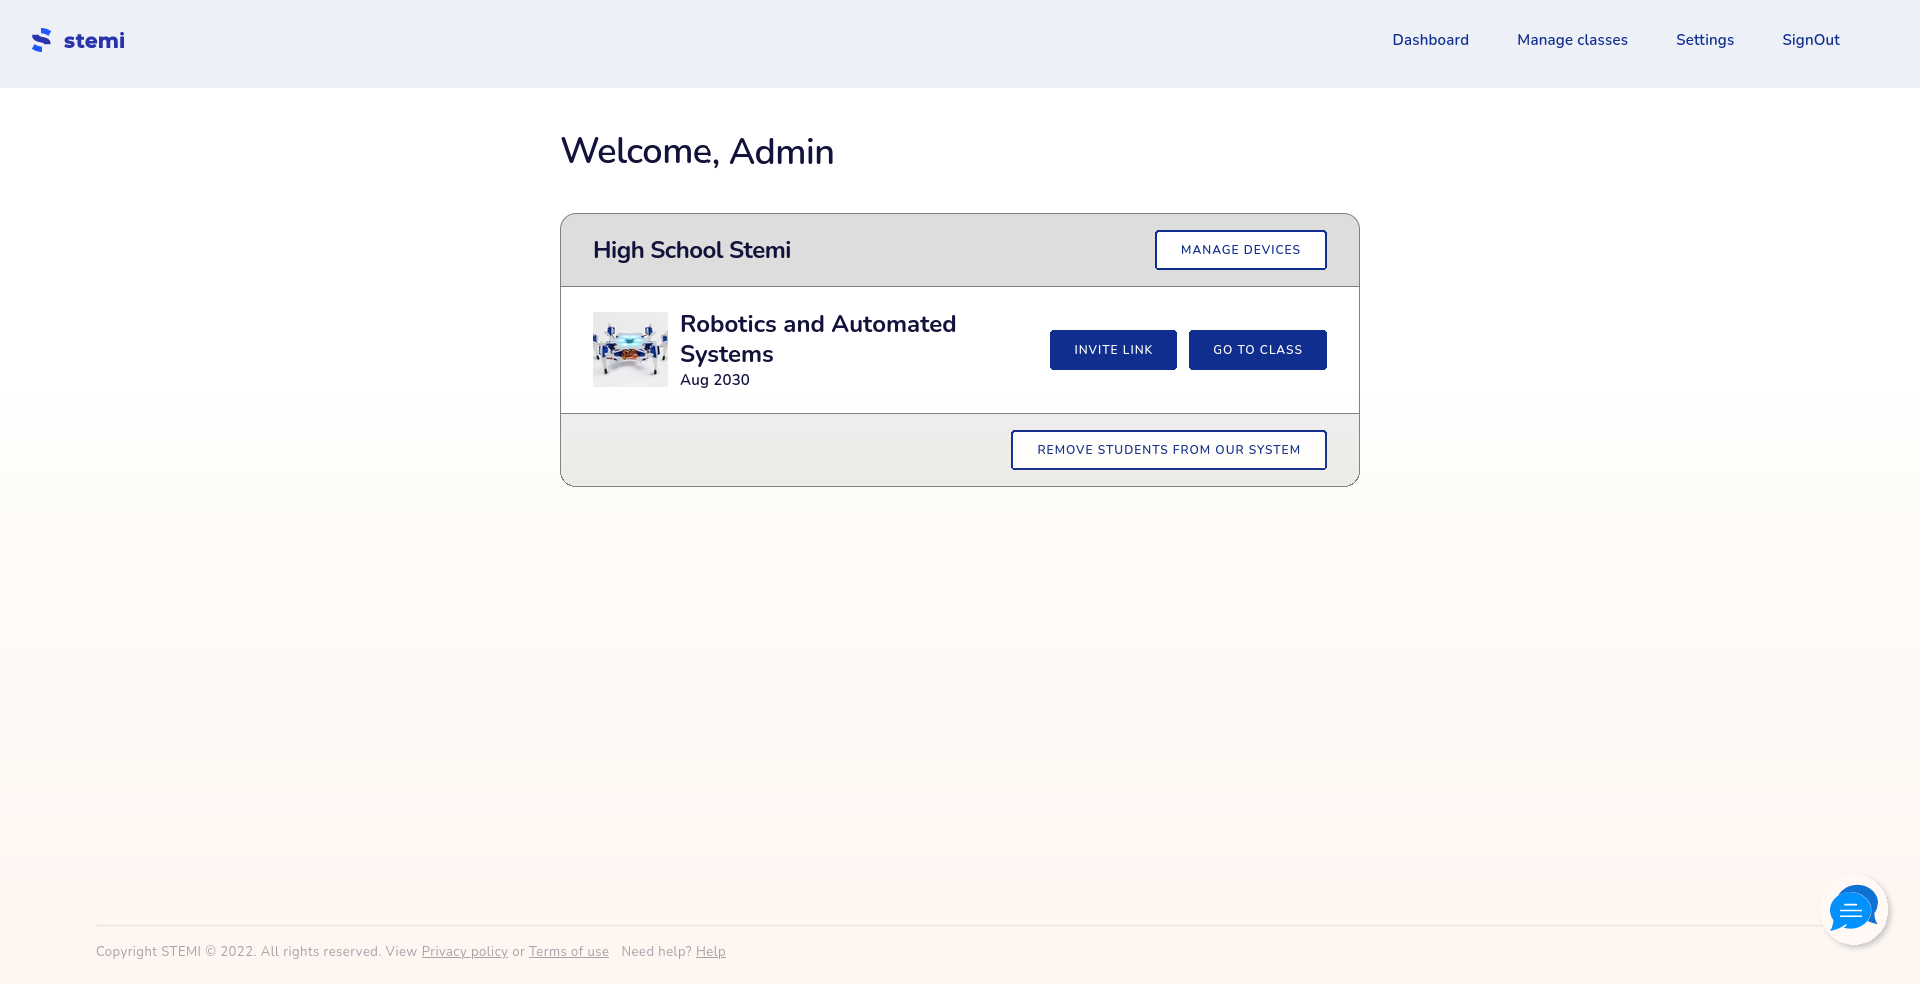
You should log in to Stemi Lab and procced to manage classes page. There you should be greeted with a similar view to the one below. Click on Manage devices.
Teacher or Manager privileges required
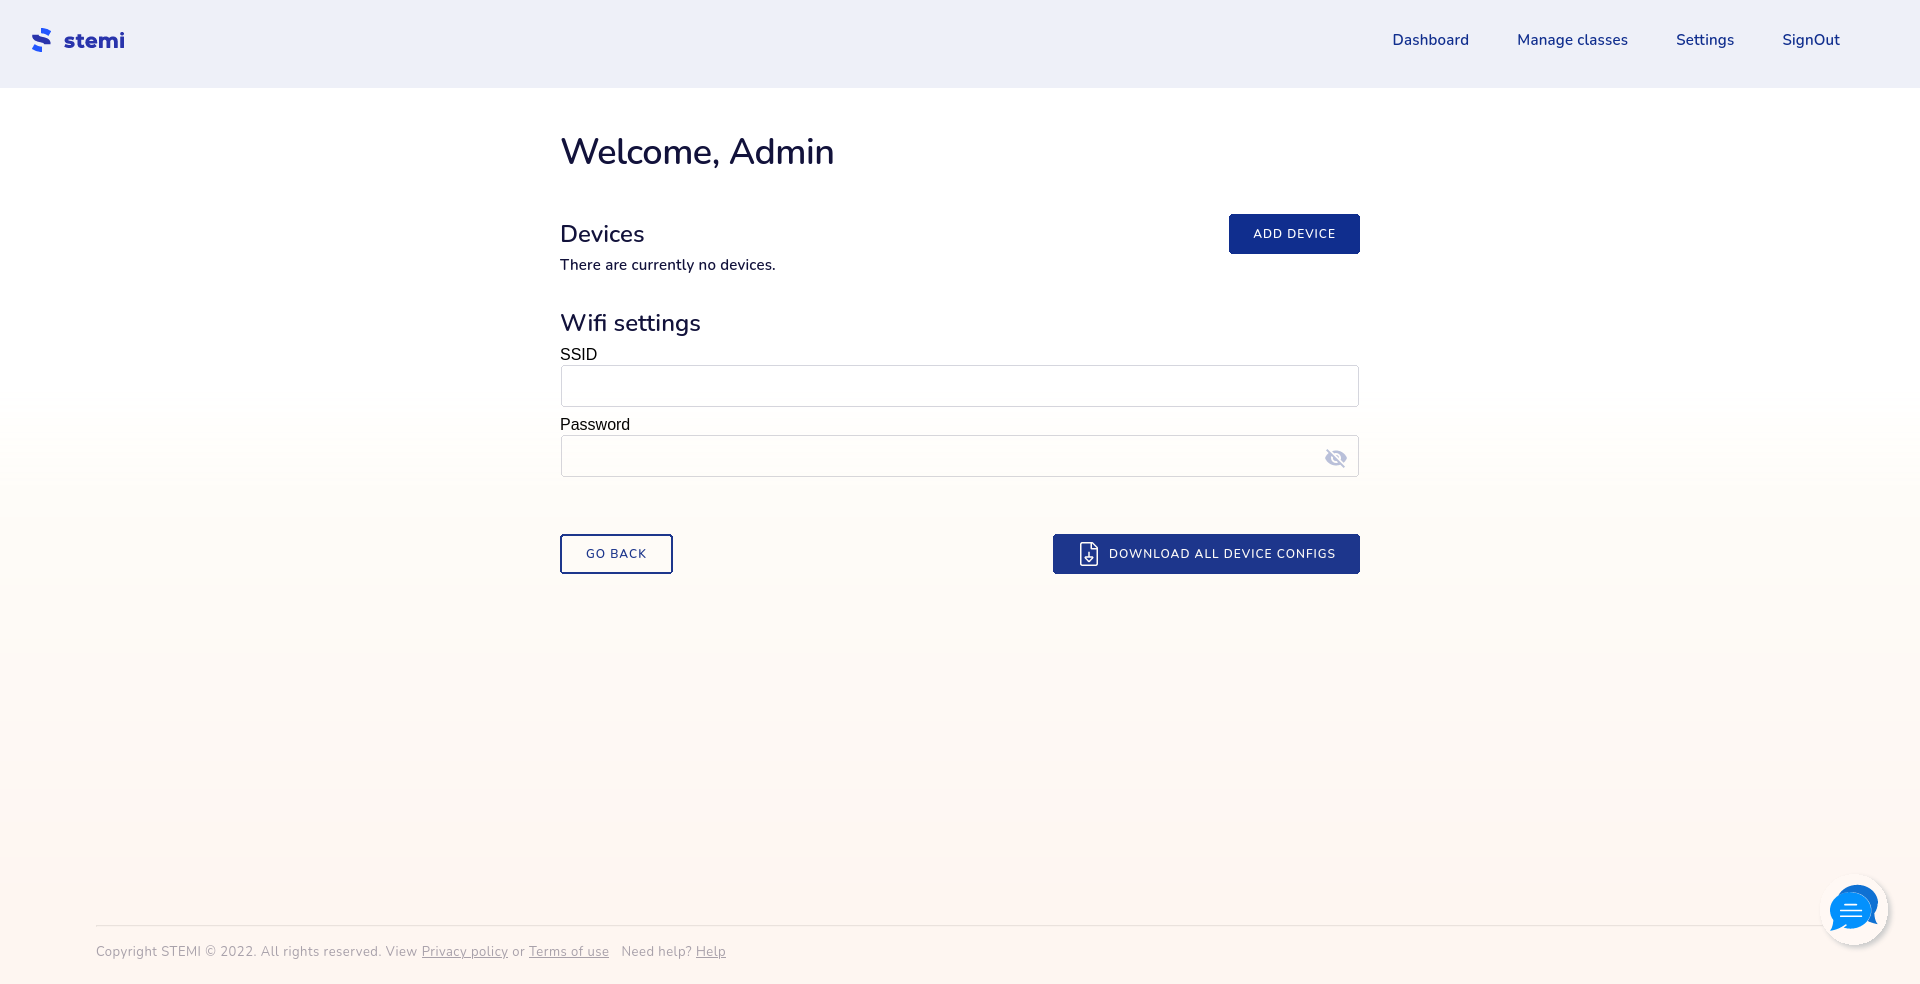
Next you should have a view like the one below. Click Add device.
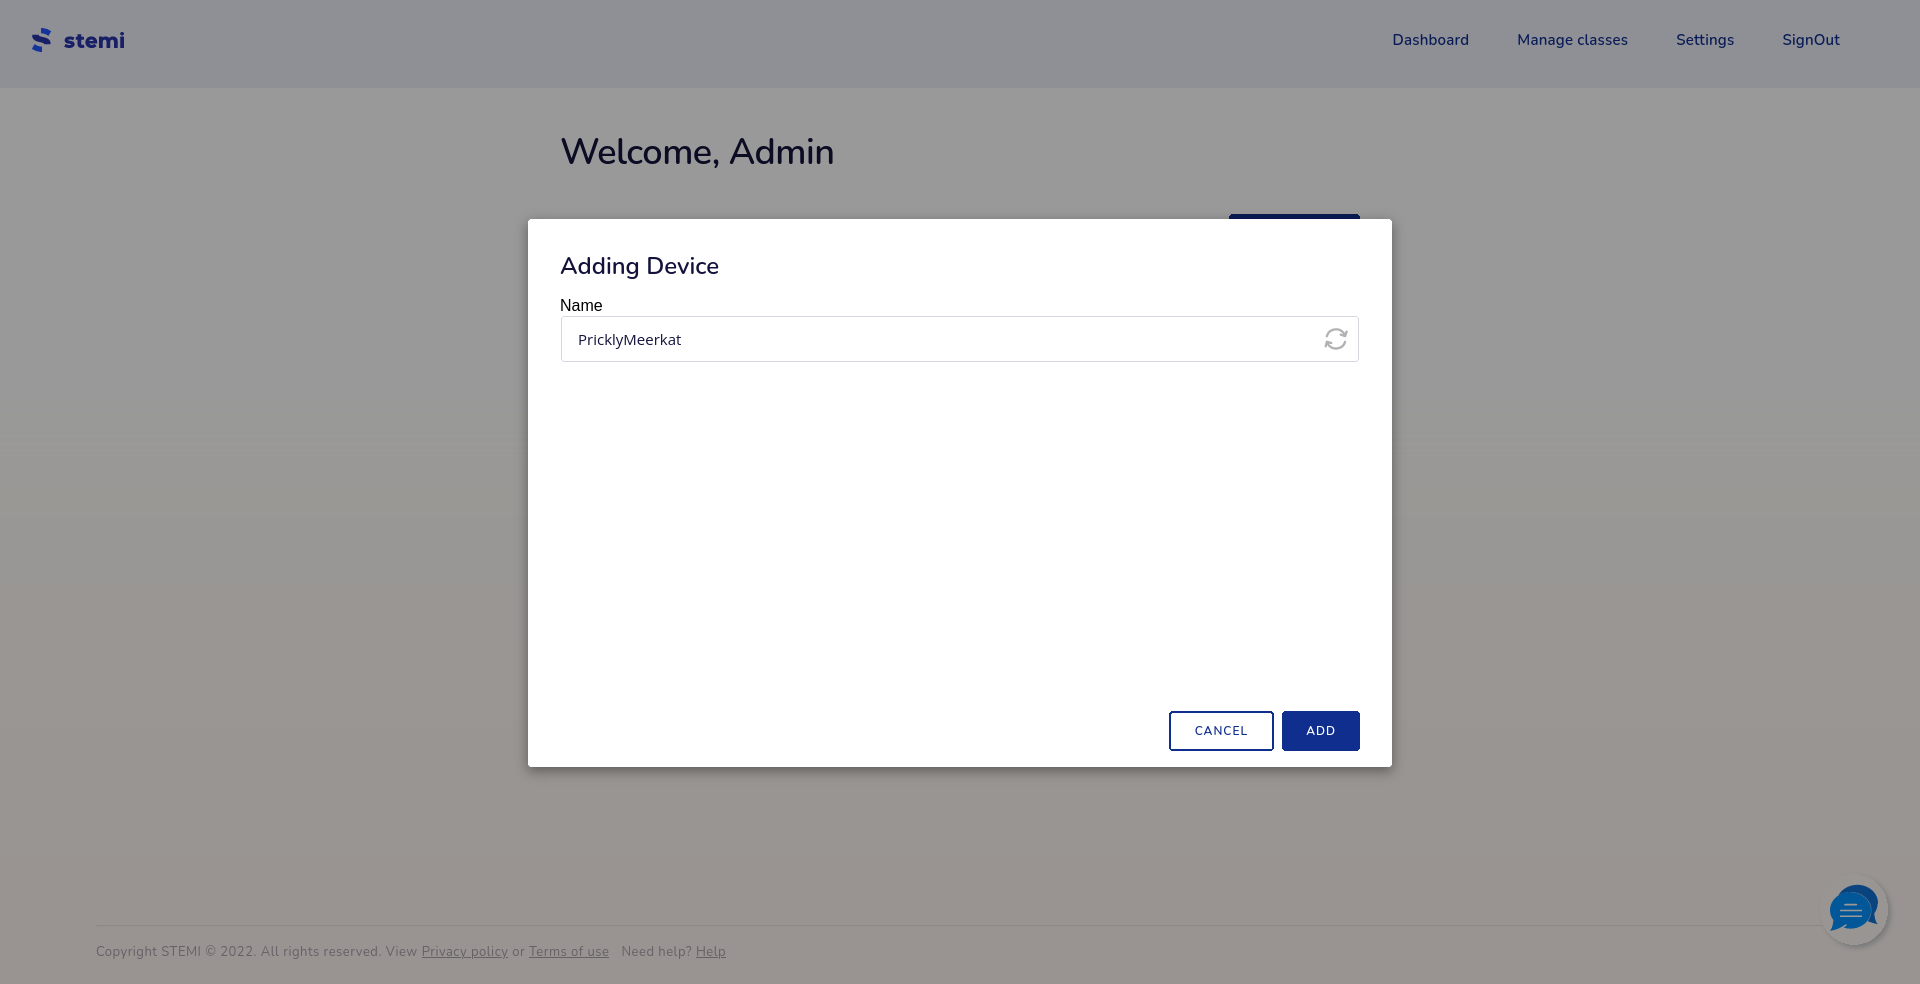
You can specify a custom name, or regenerate a random one.
2. Creating a configuration file
The configuration file is a regular .json file containing a few fields:
idnamewifi
For example:
{
  "id": "cl2smjyh10086uoihbrovbpn0",
  "name": "PricklyMeerkat",
  "wifi": [
    {
      "ssid": "Your network's SSID",
      "pass": "Super Secret"
    },
    {
      "ssid": "This is an array",
      "pass": "so you can specify multiple networks"
    }
  ]
}
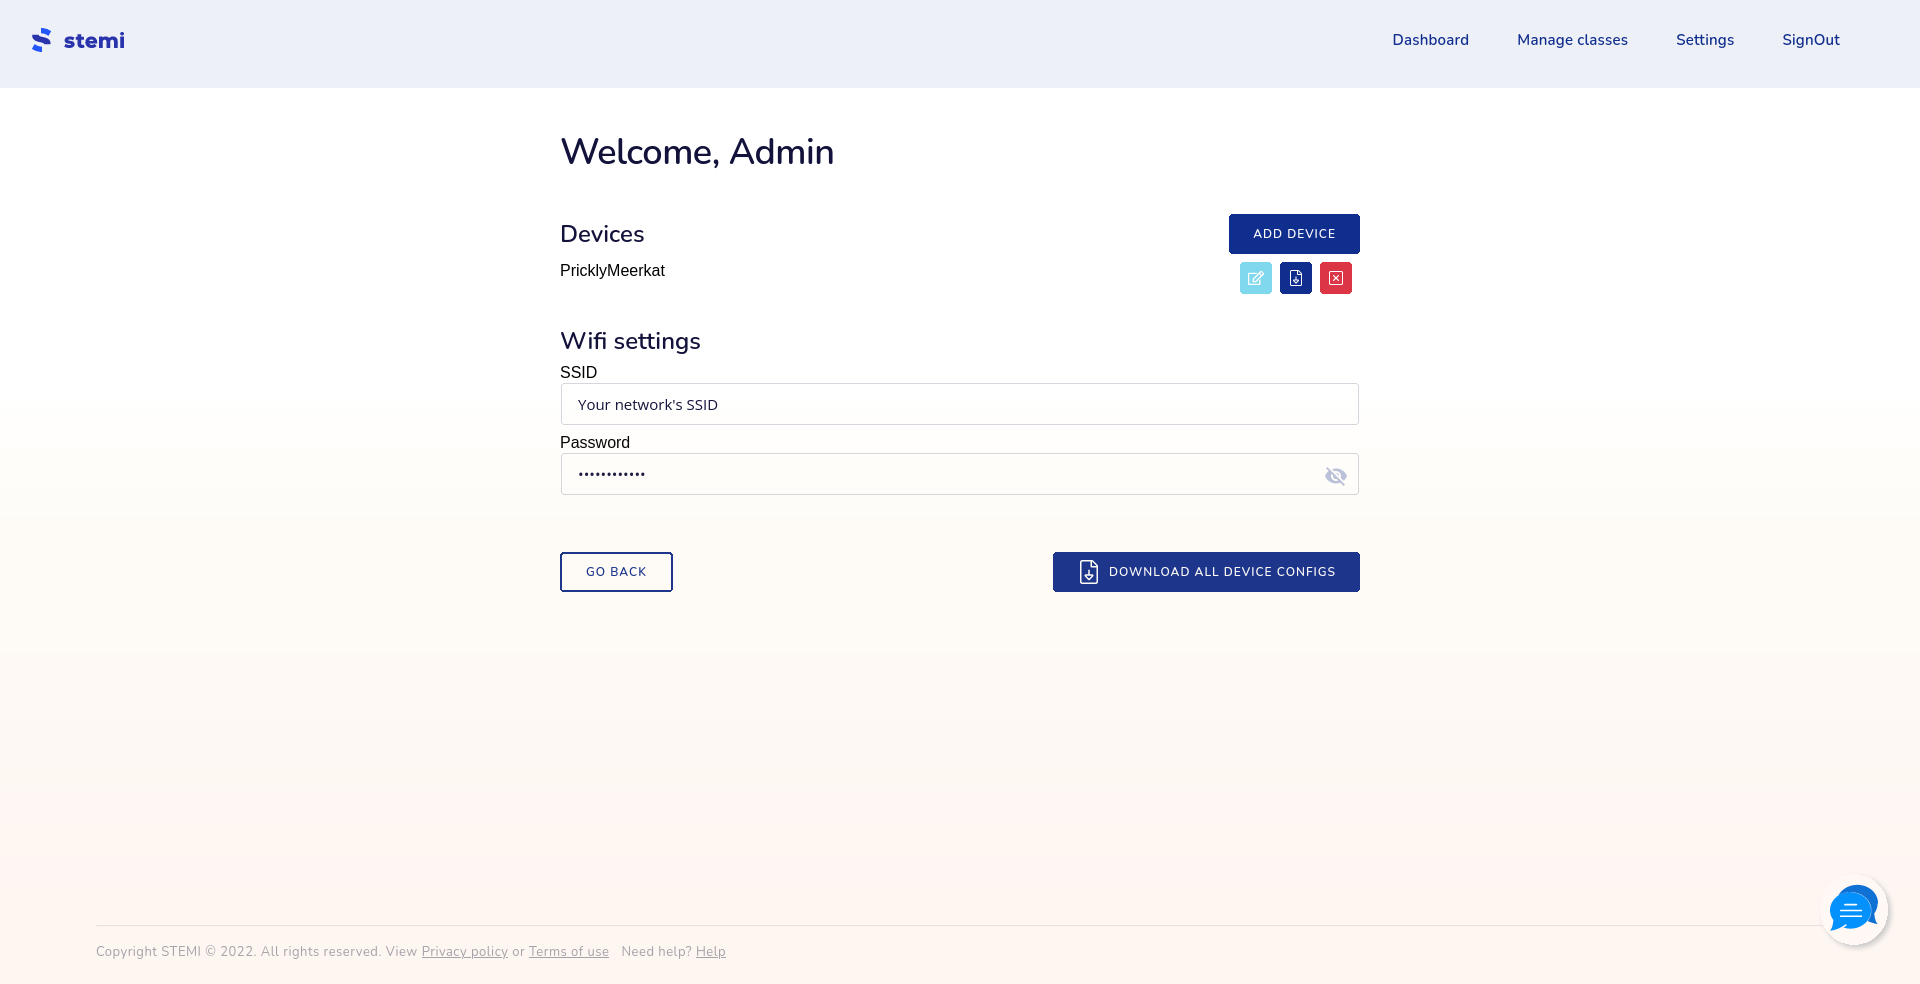
The configuration file can be automatically generated and downloaded either one at a time or all together. Prior to doing so, you should enter wifi settings so the wifi field gets populated. Wifi settings will not be stored after page reload.
3. Configuring the device
In order to configure the device, you should copy config.json to the device. In order to do so you need to connect the device to a computer with a USB cable.
Circuitpython devices can give write access to one device at a time, either itself or the computer. To give the computer write access, you should hold down button D (it's the one directly below the USB port on the board) while the device is booting. The device will boot upon being given electrical current either through a USB cable, or by connecting it to a Hexapod.